Introduction to Image Cropping
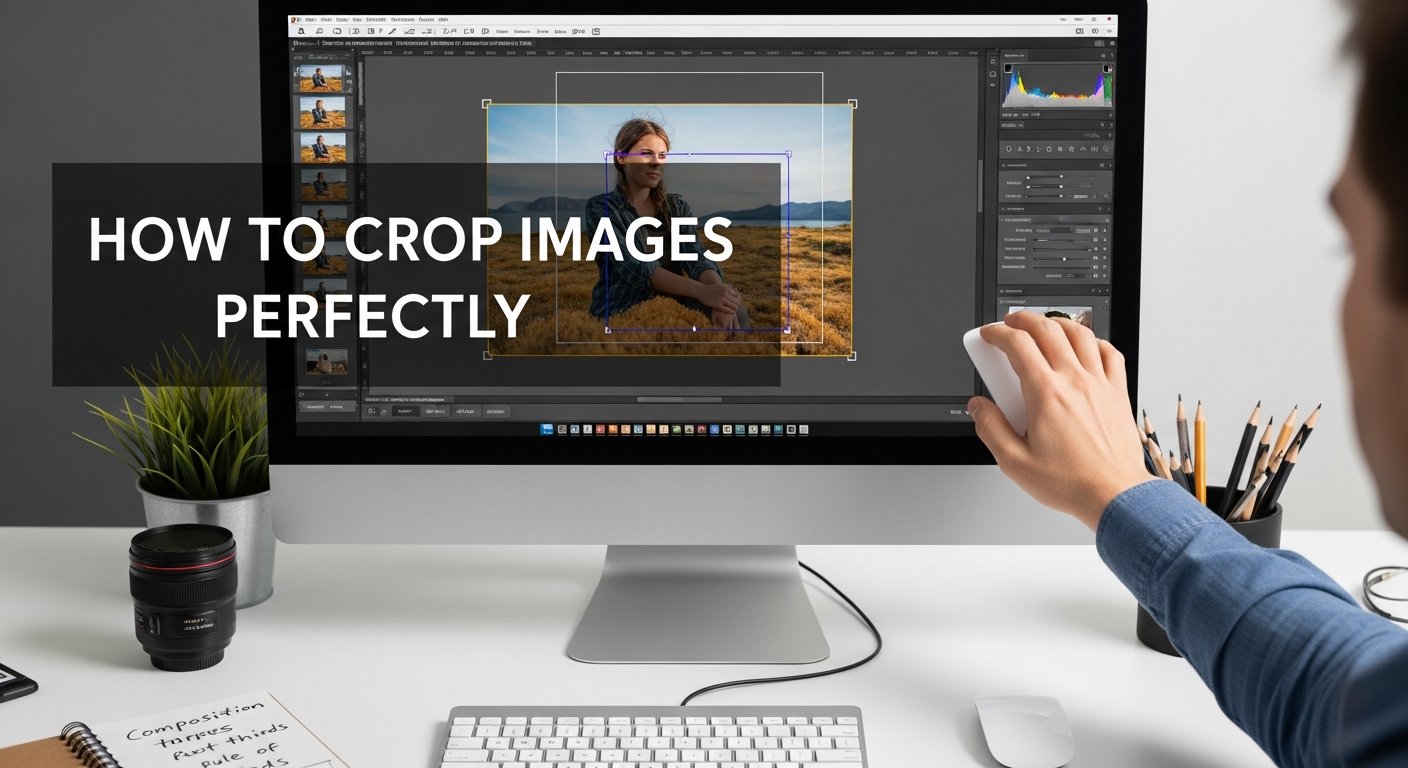
Image cropping is one of the most fundamental yet powerful photo editing techniques. Whether you're preparing images for social media, websites, or print materials, knowing how to crop images perfectly can transform your photos from good to great. This comprehensive guide will teach you professional cropping techniques using our free online tools.
Why Crop Images?
Cropping serves several important purposes in image editing:
- Remove Distractions: Eliminate unwanted elements from the edges of your photos
- Change Composition: Improve visual balance using rules like the Rule of Thirds
- Focus Attention: Direct viewers' eyes to the main subject
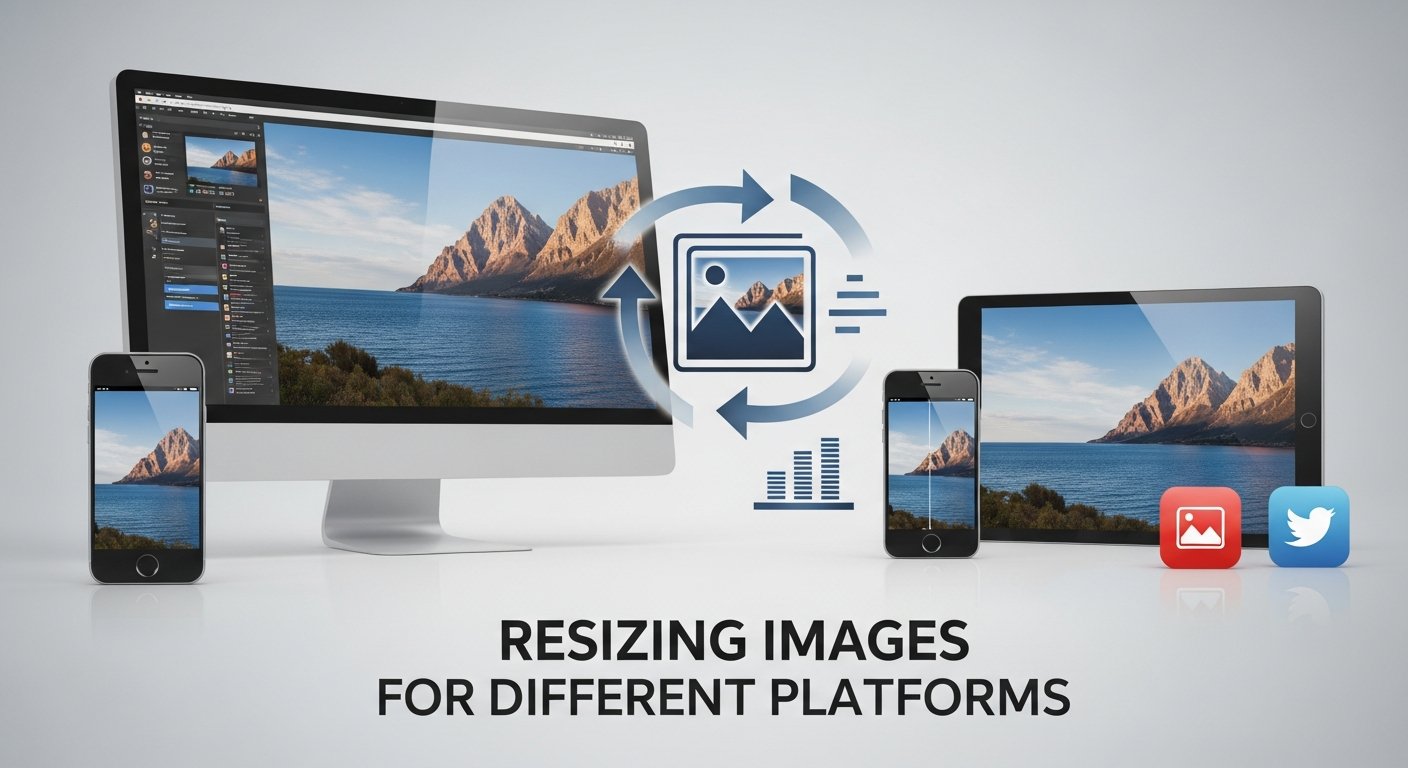
- Change Aspect Ratio: Fit images to specific dimensions for different platforms
- Improve Framing: Create better visual flow and structure
Pro Tip
Always work with a copy of your original image when cropping. This preserves the original in case you need to make different cropping decisions later.
Essential Cropping Techniques
1. Rule of Thirds Cropping
The Rule of Thirds is a fundamental composition guideline. Imagine your image divided into nine equal parts by two horizontal and two vertical lines. Place important elements along these lines or at their intersections for a more balanced composition.
Crop with Rule of Thirds Grid
Use our built-in grid overlay for perfect composition
Crop with Rule of Thirds2. Aspect Ratio Cropping
Different platforms require specific aspect ratios:
| Platform | Aspect Ratio | Common Use |
|---|---|---|
| Instagram Square | 1:1 | Feed posts, profile pictures |
| Instagram Portrait | 4:5 | Vertical feed posts |
| Instagram Landscape | 1.91:1 | Horizontal feed posts |
| Facebook Cover | 820x312 (≈2.63:1) | Facebook page/profile cover |
| YouTube Thumbnail | 16:9 | Video thumbnails |
| Twitter Header | 1500x500 (3:1) | Profile header image |
| Pinterest Pin | 2:3 | Vertical pins |
Resize & Crop to Specific Ratios
Get the perfect dimensions for any social platform
Crop to Aspect Ratio3. Portrait vs. Landscape Cropping
Choose the orientation that best suits your subject:
- Portrait (Vertical): Ideal for people, tall buildings, full-body shots, mobile-optimized content
- Landscape (Horizontal): Great for landscapes, group photos, wide scenes, desktop wallpapers
- Square: Perfect for social media profiles, product shots, and thumbnails
People: Crop at the chest, waist, or thighs - never at joints (knees, elbows, ankles)
Products: Use consistent aspect ratios across your catalog for professional presentation
Landscapes: Emphasize the horizon line - position it at the upper or lower third
How to Use Our Image Cropper
Follow these simple steps to crop images perfectly:
- Open our Image Cropper tool
- Upload your image by dragging and dropping or using the file selector
- Select your desired aspect ratio or choose freeform cropping
- Adjust the cropping area by dragging the corners or edges
- Use the Rule of Thirds grid overlay for perfect composition
- Click "Crop Image" to apply your changes
- Download your perfectly cropped image
Ready to Crop Your Images?
Professional cropping tools, completely free and no registration required
Start Cropping NowAdvanced Cropping Tips
1. Cropping for Different Purposes
- Social Media: Crop tightly on faces for profile pictures; use platform-specific aspect ratios
- E-commerce: Use consistent cropping for product photos with uniform backgrounds
- Web Design: Crop hero images to emphasize key visual elements and calls-to-action
- Print: Consider bleed areas (typically 3mm extra) when cropping for print materials
- Email Newsletters: Keep images under 600px width for optimal display
2. Common Cropping Mistakes to Avoid
- Avoid Cropping at Joints: Never crop photos at knees, elbows, ankles, or wrists - it creates an amputated look
- Leave Breathing Room: Don't crop too tightly around subjects; give them space to "breathe"
- Maintain Balance: Avoid placing subjects dead center unless intentionally creating symmetry
- Check Resolution: Ensure cropped images maintain sufficient resolution for their intended use
- Watch the Background: Be aware of objects that may look awkward when partially cropped
Quality Tip
When cropping images, always preview the result at 100% zoom to ensure the composition works. Sometimes a small adjustment of just a few pixels can make a big difference in visual impact.
3. Before & After Workflow
For best results, follow this professional workflow:
- Start with the highest quality image available (RAW format if possible)
- Make basic adjustments (exposure, contrast, white balance) if needed
- Apply your cropping decisions with intention and purpose
- Make final adjustments to the cropped image (sharpening, color correction)
- Save in the appropriate format (JPG for web, PNG for transparency, TIFF for print)
Related Image Tools
Combine cropping with other image editing tasks for complete photo optimization:
Complete Image Editing Suite
All the tools you need for professional image optimization
Conclusion
Mastering image cropping is essential for creating visually compelling photos for any purpose. With our free online Image Cropper, you can apply professional cropping techniques without needing expensive software. Remember to consider composition rules, aspect ratios, and your specific use case when cropping images.
Whether you're preparing images for social media, building an e-commerce catalog, designing a website, or creating print materials, proper cropping techniques will elevate your visual content. Start improving your photos today with our easy-to-use tools!
Crop Your Images Perfectly
No registration required - start cropping immediately
Launch Image Cropper