Introduction to JPG Format Conversion
JPG (or JPEG) is one of the most widely used image formats worldwide, known for its excellent compression capabilities while maintaining good visual quality. Converting other image formats to JPG is essential for web optimization, sharing photos, and reducing file sizes. This comprehensive guide will show you how to convert various image formats to JPG using our free online tool.
Why Convert to JPG Format?
JPG format offers several advantages for different use cases:
- Optimal Compression: Significantly reduces file sizes with minimal quality loss
- Universal Compatibility: Supported by virtually all devices and software
- Web Optimization: Ideal for websites due to fast loading times
- Photography Excellence: Perfect for photographs and complex images
- Storage Efficiency: Saves disk space and bandwidth
- Sharing Convenience: Easy to email and share on social media
Pro Tip
When converting to JPG, use a quality setting between 80-90% for the best balance between file size and image quality. This range provides excellent compression while maintaining visual appeal.
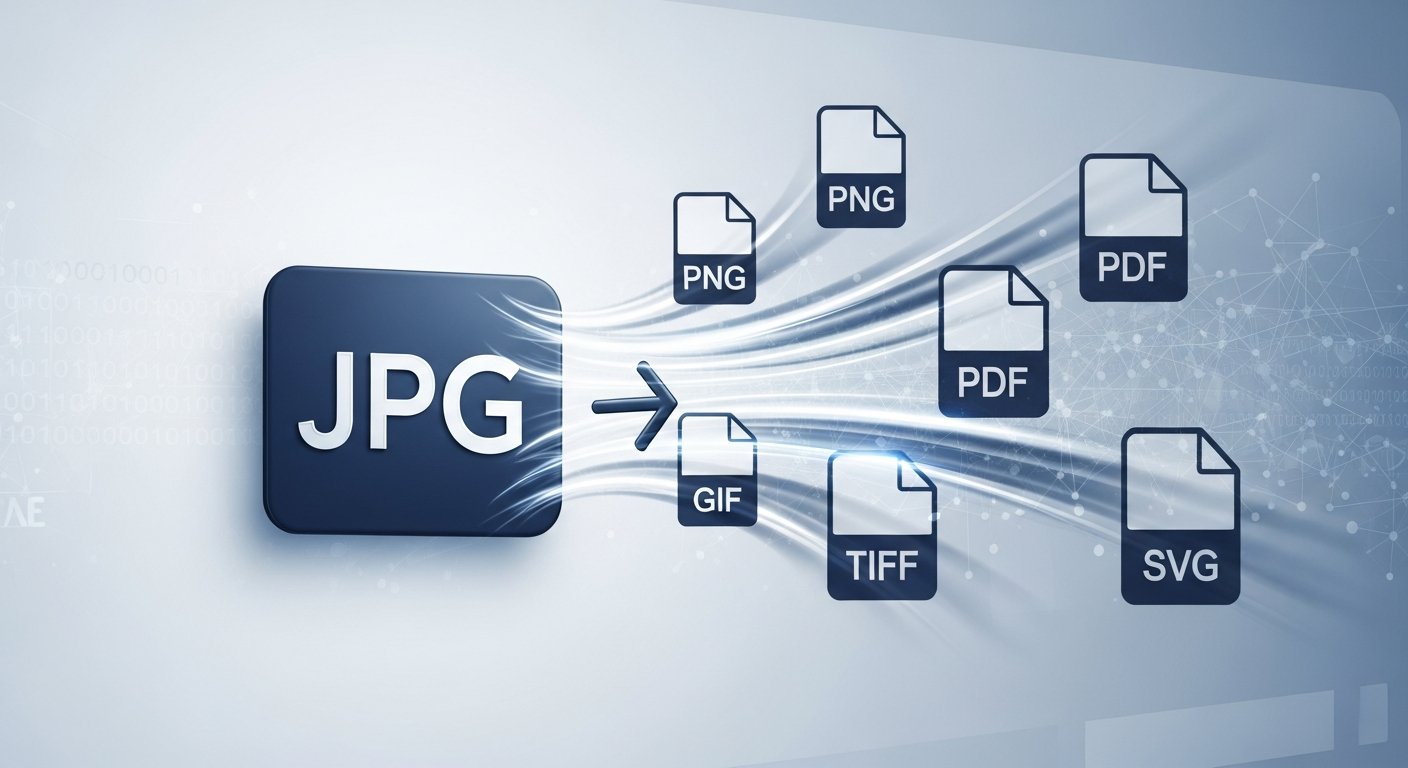
Common Formats to Convert to JPG
1. PNG to JPG Conversion
PNG files are great for graphics with transparency but often have larger file sizes. Convert PNG to JPG when:
- You don't need transparency (alpha channel)
- File size reduction is a priority
- Sharing photos online
- Uploading to platforms that prefer JPG
2. GIF to JPG Conversion
Convert animated GIFs to JPG to extract individual frames or when you only need a static image. Note: JPG doesn't support animation.
3. Other Formats to JPG
Our converter also supports:
- BMP: Convert large BMP files to efficient JPG
- TIFF: Transform high-quality TIFF scans to web-friendly JPG
- SVG: Convert vector graphics to raster JPG images
- WebP: Modern format conversion for broader compatibility
Step-by-Step Guide to Convert to JPG
1. Prepare Your Images
Before conversion, consider these preparation steps:
- Check if you need transparency (JPG doesn't support it)
- Resize images if needed using our Image Resizer
- Optimize colors and contrast if necessary
- Backup original files before conversion
Optimize Your Images First
Prepare your images for better JPG conversion results
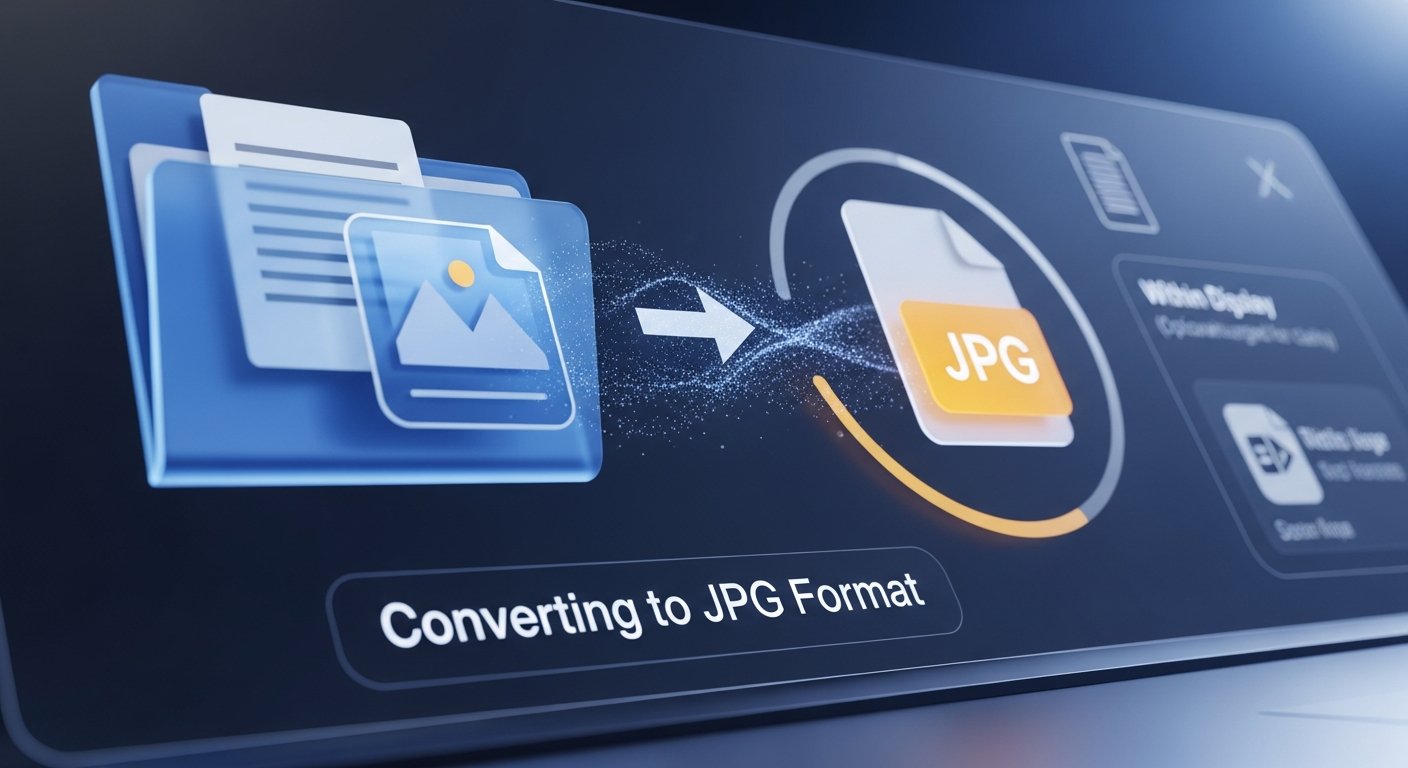
2. How to Use Our Convert to JPG Tool
Follow these simple steps:
- Open our Convert to JPG tool
- Upload your images by dragging and dropping or using the file selector
- Adjust the quality slider (recommended: 85% for optimal balance)
- Choose whether to maintain original dimensions or specify new ones
- Select "Convert to JPG" to process your images
- Download your converted JPG files individually or as a ZIP archive
3. Quality Settings Guide
Understanding JPG quality settings:
- 90-100%: Maximum quality, large file size (best for print)
- 80-89%: Excellent quality, good compression (ideal for web)
- 70-79%: Good quality, significant size reduction (social media)
- 60-69%: Acceptable quality, maximum compression (thumbnails)
Best Practices for JPG Conversion
1. When to Use JPG vs Other Formats
- Use JPG for: Photographs, complex images, web graphics, email attachments
- Avoid JPG for: Simple graphics with solid colors, images requiring transparency, logos with text
- Consider PNG for: Screenshots, graphics with text, images needing transparency
2. Maintaining Image Quality
- Always start with the highest quality original
- Make edits in the original format before converting to JPG
- Avoid multiple JPG save cycles (each save reduces quality)
- Use lossless editing software for source files
3. File Management Tips
- Keep original files in their native formats
- Use descriptive filenames for converted JPGs
- Organize by project or date
- Consider creating different quality versions for different uses
Quality Tip
For images containing text or sharp edges, consider using PNG format instead of JPG. JPG compression can create artifacts around text that make it appear blurry.
Common Conversion Scenarios
1. Web Optimization
Convert images to JPG with 80-85% quality for websites. This reduces loading times while maintaining visual appeal for visitors.
2. Social Media Sharing
Use 70-80% quality for social media platforms. They often compress images further, so starting with optimized JPGs ensures better final quality.
3. Email Attachments
Convert to JPG with 60-70% quality to keep file sizes small while maintaining reasonable quality for email recipients.
4. Print Preparation
Use maximum quality (90-100%) for print materials. Printers require higher resolution and minimal compression artifacts.
Optimize for Your Specific Need
Choose the right quality setting for your use case
Adjust Quality SettingsRelated Tools for Complete Workflow
Combine JPG conversion with other image tools for optimal results:
Complete Image Tool Suite
All the tools you need for professional image editing
Conclusion
Converting images to JPG format is an essential skill for digital content creation, web development, and efficient file management. With our free online Convert to JPG tool, you can quickly transform PNG, GIF, and other formats into optimized JPG files perfect for web use, sharing, and storage.
Remember to choose appropriate quality settings based on your specific needs and always keep original files for future editing. Whether you're optimizing a website, preparing images for social media, or organizing your photo collection, JPG conversion helps you achieve the perfect balance between quality and file size.