Why Image Compression Matters in 2026
In today's digital world, image compression is more important than ever. With websites loading gigabytes of images daily, email attachments size limits, and mobile storage constraints, knowing how to properly compress images can save you time, bandwidth, and money. This comprehensive guide will teach you everything you need to know about image compression while maintaining visual quality.
Try Our Free Image Compressor
Reduce image file sizes up to 80% while maintaining quality
Compress Images NowDid You Know?
• Compressed images can reduce page load times by up to 80% • Mobile users are 5x more likely to leave a site if it takes more than 3 seconds to load • Proper compression can save up to 90% of image file sizes
Compression Results You Can Expect
Before Compression
High-resolution photo
4.2s load time
After Compression
Optimized for web
0.8s load time
Compress Your Images in Seconds!
Try our free image compressor – no registration required!
Compress Images NowUnderstanding Image Formats
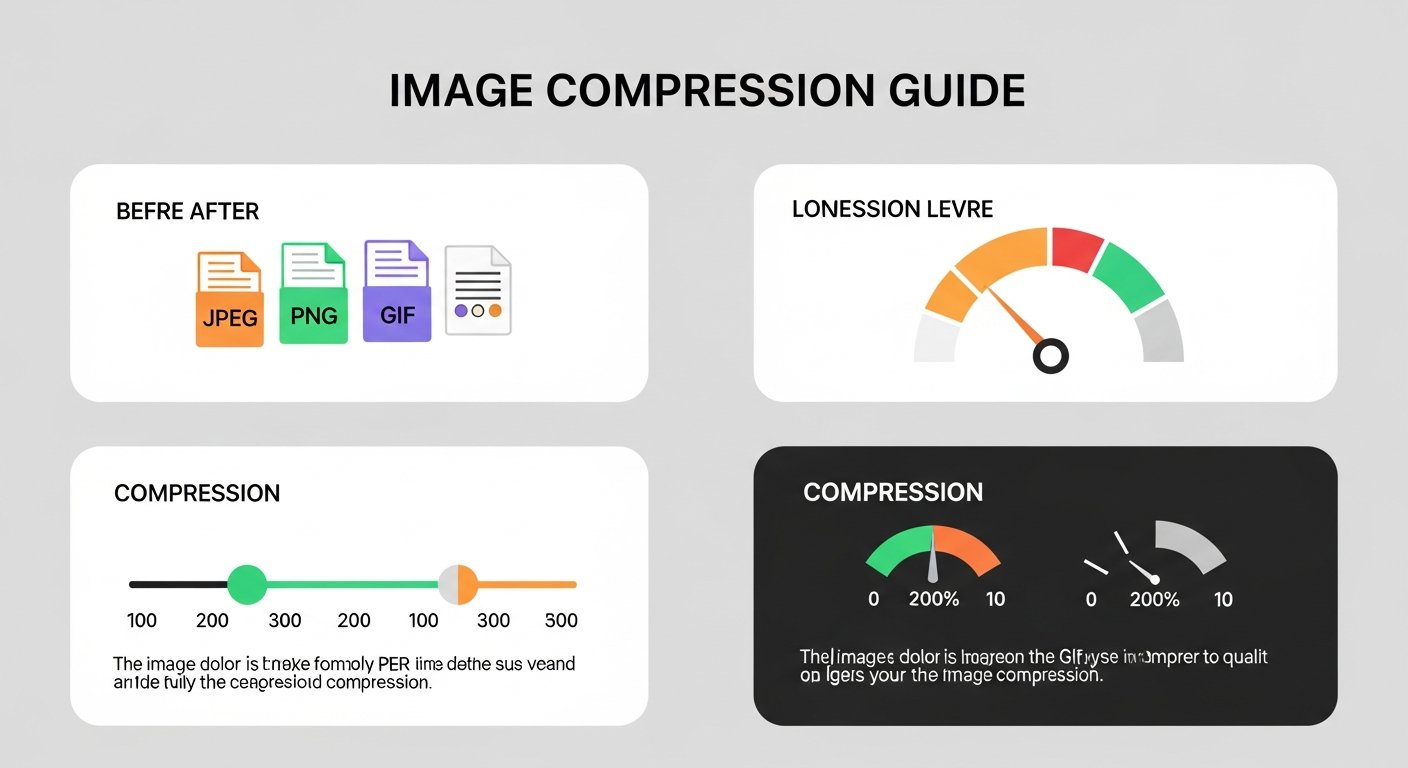
Different image formats compress differently. Here's what you need to know:
Best for photographs and complex images with many colors. Uses lossy compression.
Best for graphics, logos, and images with transparency. Uses lossless compression.
Modern format combining JPG and PNG benefits. 25-35% smaller than JPG.
Format Selection Guide
• Photographs: Use JPG with 70-80% quality • Logos & Graphics: Use PNG-8 for simple, PNG-24 for complex • Modern Websites: Use WebP for best compression • Animations: Use GIF for simple, WebP for complex
Step-by-Step: How to Compress Images
1 Choose the Right Tool
Navigate to our Image Compressor tool. It works directly in your browser – no software installation needed. Works on all devices: desktop, tablet, and mobile.
2 Upload Your Images
Multiple upload options available:
- Drag & Drop: Drag images directly onto the upload area
- File Selection: Click to browse and select multiple files
- Batch Upload: Upload up to 20 images simultaneously
- Supported Formats: JPG, PNG, GIF, WebP, BMP, TIFF
Mobile Friendly
Our tool works perfectly on mobile devices. Compress photos directly from your phone camera!
3 Set Compression Settings
Adjust compression based on your needs:
- Quality Level: Slider from 40% to 100% quality
- Target Size: Set maximum file size (KB or MB)
- Output Format: Keep original or convert to JPG/PNG/WebP
- Resize Option: Optional resizing during compression
4 Preview and Compare
Before downloading, you can:
- Preview compressed images side-by-side with originals
- See exact file size savings (percentage and KB/MB)
- Zoom in to check quality details
- Adjust settings and re-compress if needed
5 Download Compressed Images
Once satisfied with the results:
- Download individual compressed images
- Download all as a ZIP file (for batch compression)
- Images retain original names with "_compressed" suffix
- Start new compression session for more images
Privacy Guaranteed
All processing happens in your browser. Your images never leave your device!
Ready to Compress Your Images?
Fast, secure, and 100% free - no registration required
Start Compressing NowAdvanced Compression Techniques
Lossy vs Lossless Compression
Lossy Compression
Best for: Photographs, web images
Compression: 10:1 to 50:1
Quality: Slight reduction
Examples: JPG, WebP
Lossless Compression
Best for: Text, logos, medical images
Compression: 2:1 to 5:1
Quality: Perfect preservation
Examples: PNG, GIF, BMP
Optimal Quality Settings
Recommended quality settings for different uses:
- Website Banners: 70-80% quality (balance of size and quality)
- Product Photos: 85-90% quality (need detail clarity)
- Social Media: 80-85% quality (platforms compress further)
- Email Attachments: 70-75% quality (size limits matter)
- Print Materials: 95-100% quality (maximum quality needed)
Practical Applications
🌐 Website Optimization
Problem: Slow loading websites lose visitors and SEO ranking
Solution: Compress all images to under 200KB each
Result: 2-3x faster page loads, better user experience
📧 Email Attachments
Problem: Email size limits (usually 25MB)
Solution: Compress images to 70% quality
Result: Faster sending, no bounce-backs, recipient-friendly
📱 Mobile Storage
Problem: Phone storage filling up with photos
Solution: Batch compress camera photos
Result: Save 50-80% storage space, keep photo quality
Image Compression Best Practices
Golden Rules of Compression
1. Always keep originals before compression
2. Test different quality levels to find sweet spot
3. Use appropriate format for each image type
4. Consider image dimensions - resize if too large
5. Batch process similar images together
Common Mistakes to Avoid
- Over-compression: Going below 40% quality usually shows artifacts
- Wrong format: Using JPG for logos (should use PNG)
- No backup: Compressing originals without keeping copies
- Ignoring dimensions: Not resizing overly large images first
- One-size-fits-all: Using same settings for all image types
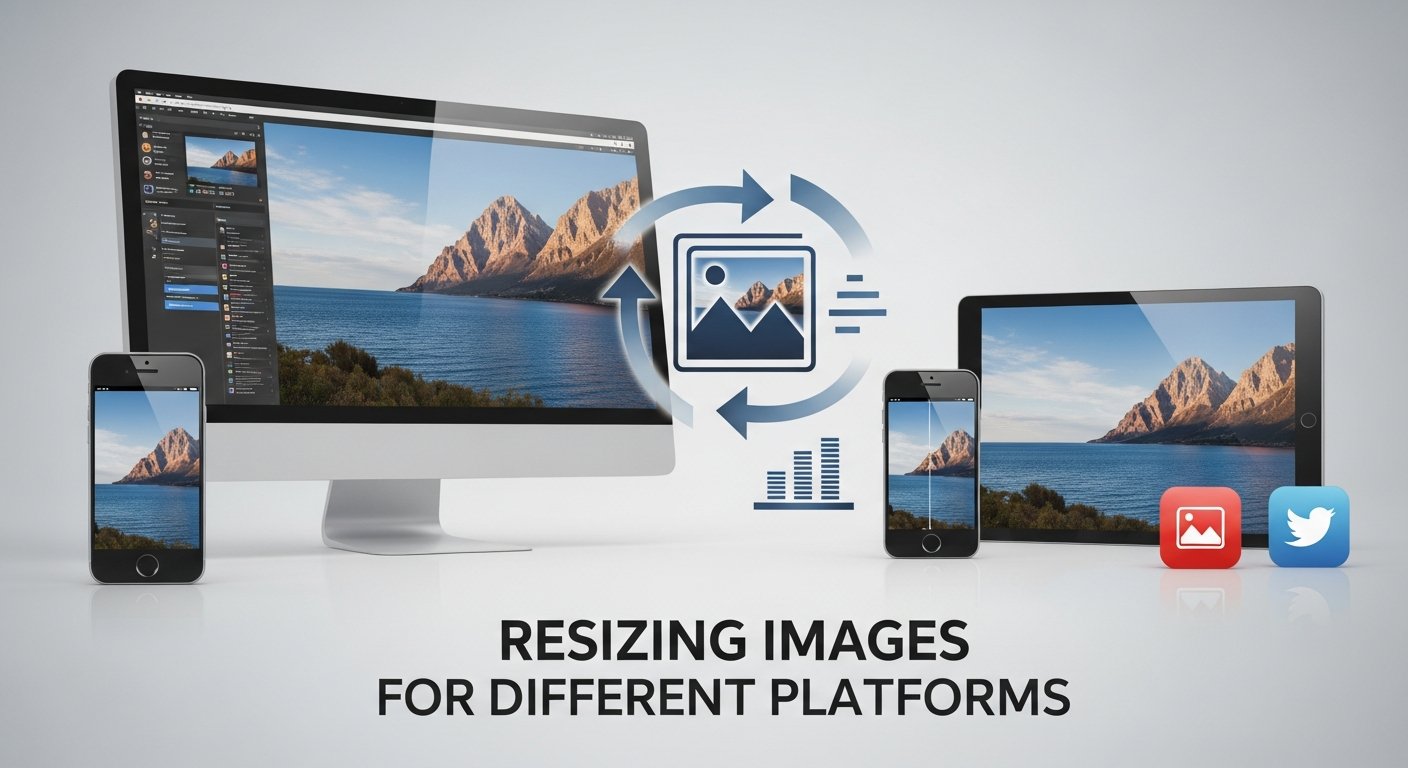
Complete Image Workflow
Combine our tools for perfect images every time:
Conclusion: Smart Compression = Better Results
Image compression isn't just about making files smaller – it's about optimizing for your specific needs while maintaining the right balance between quality and file size. With the right tools and techniques, you can dramatically improve website performance, save storage space, and make your digital workflows more efficient.
Quick Start Summary
1. Visit our Image Compressor
2. Upload your images (drag & drop or browse)
3. Adjust quality slider (70-85% for most uses)
4. Preview results and download
5. Enjoy faster websites and more storage!
Start Compressing Today - It's Free!
No registration required. No file limits. 100% secure browser-based processing.
Compress Images Instantly